


How to Make an Image look like a Reflection Shadow in Photoshop
-
Make a reflection shadow in Photoshop

Reflection shadow is something that can improve and improve the overall appearance of an image. It's a good technique to instantly grab viewers' attention. Do you also have an interest in it? Then I got to the right place. In this article, I'll show you how you can make the image look like a reflection. I'm using Photoshop for this tutorial to add reflection in the image.
There are several ways to accomplish this task. But I'll let you know in a few simple steps. To create a reflection in Photoshop, you have to choose the region you want to reflect. Press M on your keyboard to enable the Selection option and choose the segment using this tool for which you want to create a flip.


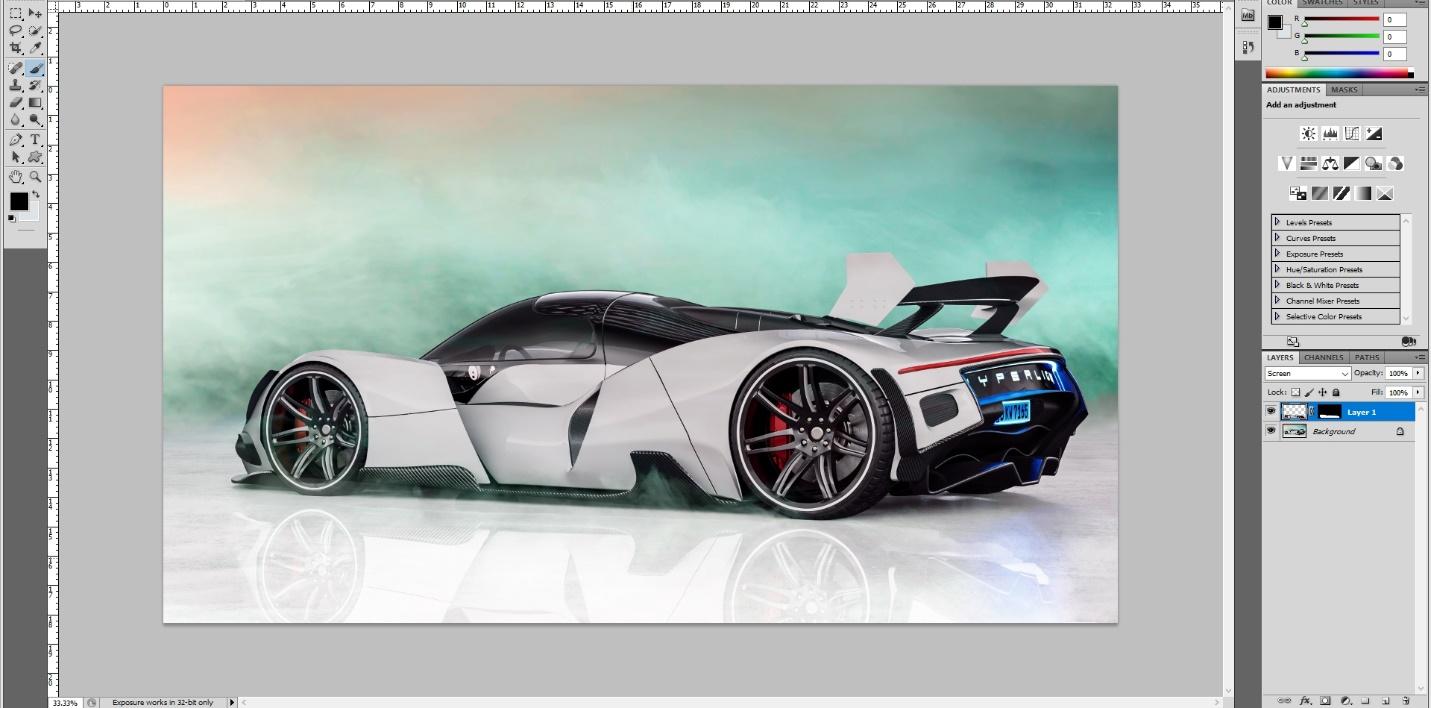
For this picture, I'll make a reflection of the car. After selecting the area, press the right mouse button and press this option.

Will create a new layer from the selected area. Then, you must select this option from the top menu.
This will make the selected vertical option. Then press V from the keyboard to move the object as you like. Then put it on as loud as the subject. If you need to make any additional settings, you can press CTRL + T to enable the free conversion option.


Put it in the best balanced appearance. At this point, the image will not be a correct reflection of the image. But don't worry that we'll fix it in the last part.
But the copied layer does not resemble reflection. To make this a reflection, go to the Layer Blending Mode option and choose the Screen or Thinning option depending on the object. For this picture, I have tried both the option and the screen was suitable.

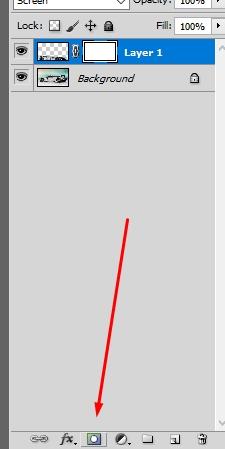
Although this is not in the right form yet. To make it in the appropriate shape, bring in mask mode by clicking the Add Mask option.
You can then enable the mask option by clicking the mask thumbnail and pressing ALT. Disable the main layer by clicking on the eye icon. Previously, select the Eraser option and clear the rest of the object away from the object.

To see it in the perfect shape, we can bring the mask option and keep the object in white color and another part as the background of such a picture.

Part of the image is not properly black. This on purpose for a blurry look at the edges of the reflection
Again, press the miniature mask with ALT to return to normal.
Look at the reflection is completely added. Isn't it a simple process?
Now, you can easily think of an image.


/image%2F3431879%2F20190621%2Fob_e59bc4_adult-blur-camera-598917.jpg)